Build a solid foundation for 2020
As first seen in the Orchardist, April 2019
Ruth Underwood, Horticultural Consultant Fruition Horticulture (BOP) Ltd
The intent of kiwifruit winter pruning is to provide a canopy of fruiting wood to bear your 2020 crop. Done well, it will help make that crop a high yield of good quality and well-sized fruit, while also aiding yield potential for the following seasons.
Hayward vine canopy before pruning – spurs are important to help provide fruiting wood near to the vine leader
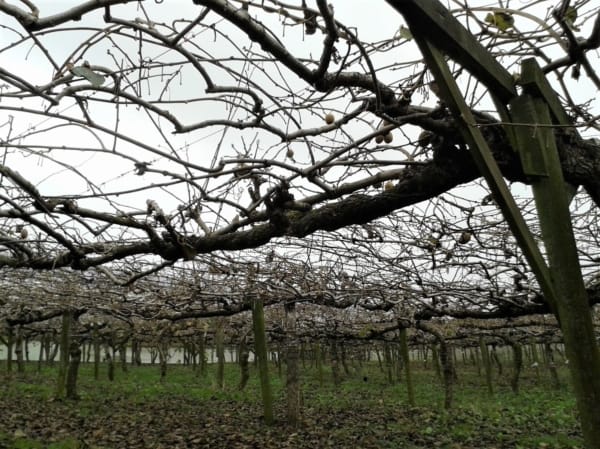
In this article I’ll cover the three things to particularly focus on during winter pruning:
- Filling the canopy
- Tying down evenly
- Orchard hygiene
Filling the canopy
Kiwifruits fruit-bearing shoots grow from wood that grew during last season. Having enough fruiting wood to carry your target crop is your key aim.
Start with a review of vine condition. The rainfall pattern meant a relatively vigorous 2018/19 growing season until dry conditions slowed growth from late January. Your canopy may have some later-grown, weak wood and tangles that aren’t ideal wood quality.
Your ideal wood will have grown since the start of the previous season, and be sturdy with lots of buds for its length. Wood with fruit stalks has definitely been there since the first growth flush so is a good indication of suitably mature wood.
If you struggle to get enough ideal-quality wood, I recommend filling the canopy rather than leaving gaps. Filling the whole canopy helps get good production without overburdening your vines, because it maximises their access to light, which is a key resource. Areas to watch to make sure you fill them up are next to male vines and around the leaders. If you haven’t picked yet for 2019, you can have a look at these areas within your orchard. If you’ve picked, looking at where the fruit stalks are will be helpful. Take note of how well the fruit is spread across the vine canopy and the type of wood carrying your crop in the harder-to-fill areas. Then make sure your winter pruning specifications includes target numbers and wood type for these areas.
High knobs of wood are where fruit is missed at picking and these should be reduced over time to develop a flatter canopy
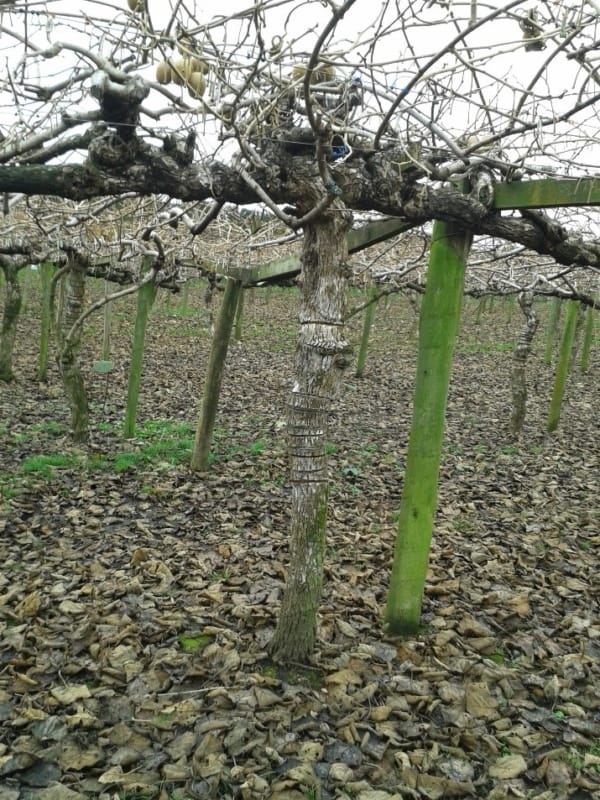 Always prune a few bays, even roughly, to check how your target quantity of winter wood relates to the style of pruning required.
If you have variation in wood quality, it may lead on to further variation such as an extended flowering period. This is still better than having too little wood and reduced crop potential.
Watch you don’t overburden the centres of rows with opposing female vines, as you could set these areas up with doubled-up winter bud density leading to a too-dense canopy throughout the next growing season.
Narrow rows are easier in many ways, but if you have too little wood in the half-metre either side of year leader, it is a high proportion of the canopy area. If you don’t have the sturdy-spurs ideal to fill this area, consider training in a longer piece of fruiting wood parallel to the vine leader, or keeping the end of a longer cane from an opposite vine, even letting it cross right over the vine leader. A piece can also be tied in parallel to the male vine leader if you are short of wood that extends out to there. These solutions to winter pruning problems can look ‘untidy’, but have a role in filling up your canopy evenly with good quality fruiting wood. You do need to use them judiciously, so the entire canopy doesn’t become a mess!
Ensure your pruning strategy covers the different types of bays in your orchard. In a strip male orchard, each bay has the same configuration in terms of the proportion of male and female canopy. However, if you have different male vine arrangements you may have distinct male and female bays, and need to set intended cane and bud numbers for each bay type to get a uniform canopy.
You may be intentionally favouring some vines over others, such as seeking fruiting wood from one side of the bay with the other side a temporary vine just to top-up quantity of fruiting wood. If you’re doing this, prune the vine you want to favour first, then use the other vine to just fill in gaps.
Tie wood down evenly, aiming to fill the canopy but minimise overlap of wood from opposing vines
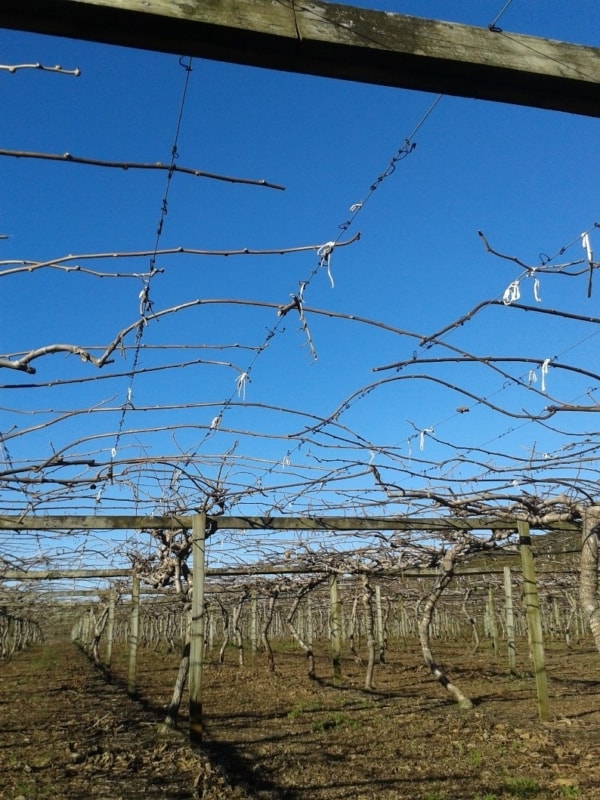
Through the winter, keep an eye on records of winter chilling. If you’re pruning early, you need to leave more margin for the lower flower numbers that might occur after a warm winter. Later-pruned blocks will have more guidance whether it is a high or low chilling winter. However, chilling isn’t the whole story as spring conditions are an important influence your next crop, but unknowable in advance.
During your pruning, keep a check at least on cane numbers, but preferably winter bud numbers, as you go. For this reason, I prefer tying down to be done closely behind the pruning as it is hard to gauge quantity of wood until vines are tied down. Also, during tying down some canes break or are removed so counts done before tying down might not be a good reflection of the pruned canopy. If you’re making counts only after all winter pruning is finished, you lose the information they can provide to help fine-tune your pruning, although they are still useful for crop estimates and overall comparison to other seasons.
If you have used strings to train your replacement canes during 2018/19, your winter pruning may simply be removing fruited canes from the canopy and tying in the new canes from the strings. These may need untangling or may be long enough to just cut off any tangled ends. Check you will have enough replacement canes to fill the canopy, especially if the vines are young. If there aren’t as many as you need, keep some of the fruited canes, as much for their leaf area and to help prevent sunburn and wind damage on neighbouring new canes as for the fruit they could carry themselves.
When to start?
I prefer pruning to wait until vines have begun to drop their leaves naturally. This is because vines remobilise resources from the leaves in autumn which are stored and help give them a good start for next spring. Vines that have been too dry may start this process early. However, I recognise that frost can interrupt this process and sometimes you need some work for your pruning staff to get on with even though the vines still have plenty of leaves. If this is so, and you need to start, still follow the same process of getting some bays tied down as you go to gauge the quantity and quality of fruiting wood for your 2020 crop. Using
If you’ve had to do lots of costly fruit thinning during 2018/19 – should you prune harder to reduce your thinning costs? Generally, don’t over-react to a high number of flowerbuds last season, as you can readily drop your yield. Your vine monitoring records will show you typical flower numbers from your winter buds, and the year to year range, which should guide your winter pruning quantity. If you were thinning mainly to remove mis-shapen flowers, doubles and trebles or space out flowers to improve the balance between leaf numbers and fruit, then pruning harder in winter is more likely to reduce your yield than just reduce your thinning costs. Thinning costs can be reduced by removing whole shoots in an unfavourable position or ones that have too many flower buds for their number of leaves or by pruning off forks of branched spurs at risk of over-cropping.
Some unconventional approaches help to fill in areas where there is not enough wood. Paint larger pruning cuts with protectant
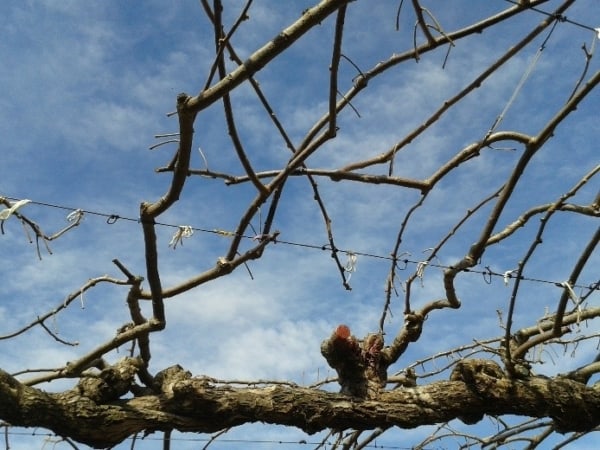
Keep an especially close eye on winter pruning work at the beginning of the process. It can reveal some unexpected issues, such as too much zero-leaf summer pruning done last year, reducing your options to leave older wood. If you come across an issue like this early, it enables you to adjust your specifications in time to still achieve the winter canopy you want. Ribbons tied to the bays counted provide feedback to workers – with the bud numbers written on them and a colour code e.g. green for counts being within target range.
Tying down
Tying down evenly is an integral part of a good winter pruning job. The ideal wood layout is as close to a single layer as you can. You’ll notice that if any fruit is missed at picking, it tends to be in the high parts of the canopy that were hidden by leaves or out of easy reach at picking time. Space the wood well apart. This intercepts light and keeps air circulating as much as possible within the canopy. Sometimes if you need to keep older wood, you can rub off shoots early in spring that you don’t want to grow. Some people achieve the same effect by gouging out these buds in the winter.
This pruned canopy has a mix of young and older wood, tied evenly
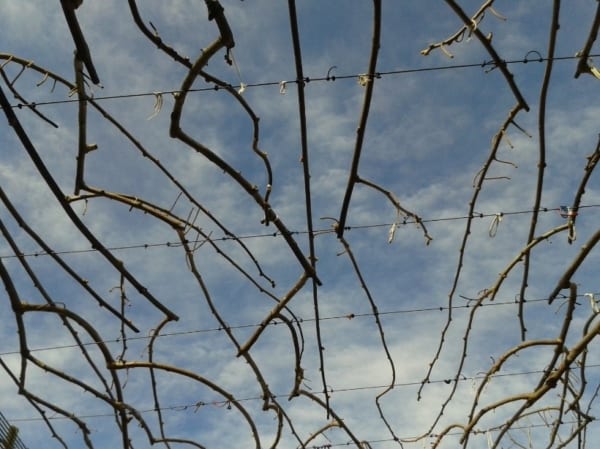
Later in the season you may need to go through and tie up ends that were ok at winter pruning but have come loose with the weight of fruit on them.
If the canopy is going to be underfilled, ensure you tie down to spread what cane you have well across the canopy. I’ve also seen a useful input from long canes looped back on themselves to help fill a young canopy.
Hygiene
Pruning in dry conditions is a great help to minimise Psa disease in your vines. Even then, your basic strategy should include tool sterilising, painting cuts and keeping up with protectant sprays. When you’re cutting into the vines, the moist cut surface exposed can be hospitable to potential pathogens on your tools or within the orchard. Do check neighbouring crops have been picked before applying any agrichemicals with a withholding period.
Cut out or mark Psa cankers for removal and train in a new leader to replace damaged leaders on young vines.
If you have young vines, prioritise the best weather conditions for their pruning and training as any Psa aggravated by handling in wet weather conditions is more likely to be in the structural parts of the vines. Also practice good tool hygiene for the same reason.
Male Vines
Mature vine canopy before pruning – winter is also an important time for maintenance, such as repair of broken or sagging structure
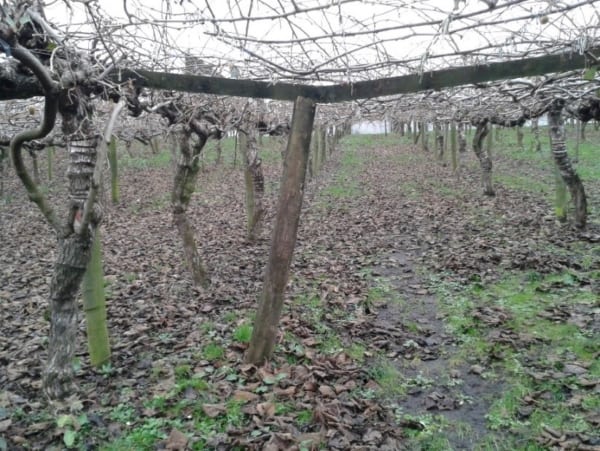 Male vines shouldn’t need much work during the winter but if they have got a bit gangly, trim the ends of shoots back a little to prevent them draping over the female canopy. If any of the male vines are a bit large for their space, consider reducing their leader length and extending the neighbouring female vine into the space. If the male vines have got heavy wood protruding above the canopy, their height should be reduced by making some big cuts as the height makes it more difficult to get good coverage when you’re spraying. However, as with all structural cuts, make sure you don’t do too much restructuring and reduce potential flower numbers – many of these things need to be done in stages over 2-3 seasons.
If you have young male plants getting established among a mature orchard, make sure you create a space in the canopy for them so they will have light to encourage growth in the coming season. Putting up poles and strings will be a help if they are still to establish leaders.
Winter is also an important time for maintenance. Enlist your pruning workforce to help report things you might have missed – broken wires or structures, rabbit holes or damaged sprinklers. Using your winter pruning team to mark and report issues will mean you can concentrate on fixing them.
Part of your maintenance is to look for and control difficult weeds. I’ve been seeing Moth Plant with seedpods scrambling up external shelter belts on kiwifruit orchards recently. This is best dealt with before they start seeding but should still be controlled if it was missed earlier to help prevent its spread within yours and neighbouring properties, where it can get among the kiwifruit vines and host other pests like passion vine hopper.
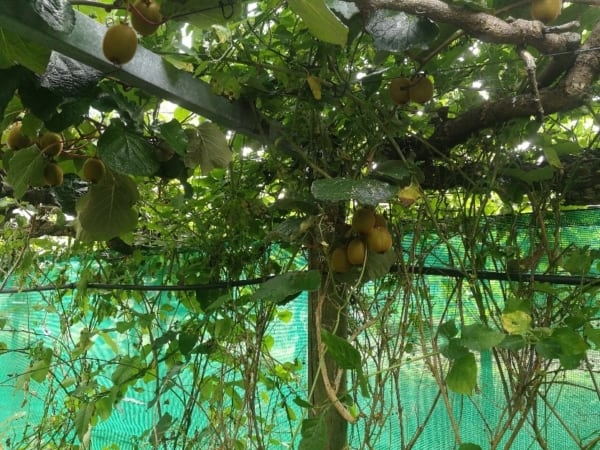
Uncontrolled Moth plant enjoys growing among kiwifruit vines
In summary, paying good attention to winter pruning will help set you up for a good crop. Don’t over react to having to do a lot of thinning in 2018/19 or do too many structural cuts in one winter or you risk reducing your crop potential. Aim to fill the canopy with bud numbers that give you some leeway if it’s a warm winter.